Short answer
Gesture drawing is a quick study of a subject’s overall action, weight and rhythm rather than a detailed rendering of its surface. Look at the whole pose, identify its main direction, then use a few lines and simple forms to show how the parts relate. Short timed poses are common practice, but clarity matters more than drawing as fast as possible.
What is gesture drawing?
A gesture drawing asks what the pose is doing. Is the subject reaching, curling inward, resting on one leg or leaning against a support? The drawing should communicate that relationship before clothing, facial features or individual fingers. A handful of well-chosen marks can describe a pose more clearly than a complete outline that gives every small edge equal attention.
This approach does not mean ignoring form. In its gesture-drawing lesson, Love Life Drawing emphasizes major forms, their relationships, asymmetry and selective marks. It distinguishes a time limit from simply rushing a normal detailed drawing. Use the limit to decide what to leave out, not to pack more scratches onto the page.
Treat gesture, contour and construction as different questions rather than competing styles. A contour study follows an edge. A construction study examines volumes and their orientation. A gesture study emphasizes action and relationships, and may use both edges and internal directions to do so. You can begin a longer figure drawing with a gesture, then build forms on top without losing the original movement.
Line of action, rhythm and weight
- Line of action
- A simplifying sweep that describes the pose’s main direction. It is a drawing interpretation, not necessarily an anatomical line or the exact outline of the spine.
- Rhythm
- The way directions and curves lead into one another. A torso curve might continue toward a leg, while another direction leads outward through a raised arm.
- Weight
- The sense of what supports the subject. Look for a planted foot, a chair seat or another contact, then compare the body’s position with that support.
- Compression and extension
- The contrast between a shortened, folded side and a longer, stretched side of the pose. Look for it rather than making both sides automatically symmetrical.
Before drawing, describe the action in ordinary words: “leans left while reaching up.” Try a long curve or angled sequence that expresses it, then locate the head, chest and pelvis in relation to that sweep. Do not force every pose into an S-shaped line. An upright resting pose may need a quiet direction; a folded pose may need a clear change of angle.
A useful beginner exercise is to limit yourself to straight lines, C-curves and S-curves, a strategy also discussed by Love Life Drawing. The constraint encourages simpler choices; it is not a rule that all successful drawings must follow. If an arm looks like a noodle, stop adding curves and ask where its direction changes and how it connects to the torso.
Materials and references for a first session
Start with ordinary paper and a pencil that makes visible marks without heavy pressure. Charcoal, a brush pen or a digital drawing tool can also work. Choose a surface large enough to move comfortably and put the reference where you can look back and forth without constantly rearranging your workspace. You do not need a special sketchbook or a collection of tools to begin.
- Own references: take your own consenting self-portraits in comfortable poses, or use a mirror for untimed observation. Avoid poses that are painful or difficult to hold.
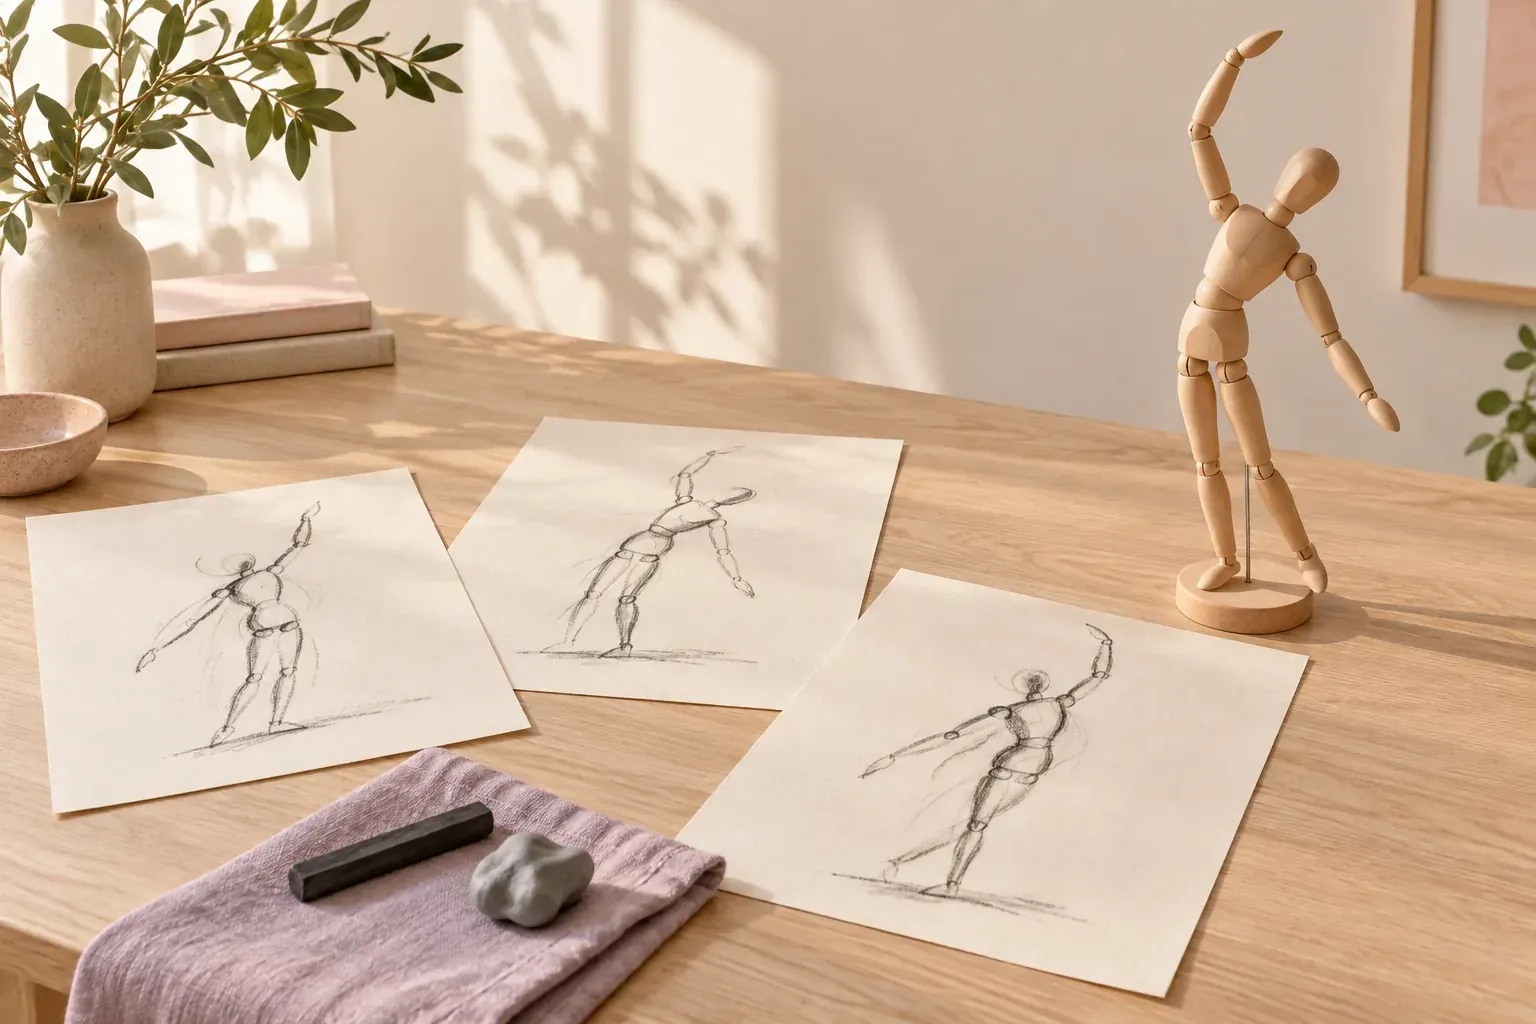
- Mannequin: use a jointed artist’s model to practice broad directions and overlaps. Treat its simplified joints and proportions as a pose aid, not as accurate human anatomy.
- Licensed photographs: check the original provider’s terms for drawing from the image and for publishing or selling a resulting study. Save those terms with the source.
- Public-domain material: verify the particular item’s rights status, rather than assuming every photograph on a museum or archive website is unrestricted.
- Live sessions: follow the organizer’s rules, including restrictions on photography. Ask before taking or sharing any reference photograph of a model.
Credit is good source practice, but it is not a substitute for permission. The U.S. Copyright Office explains that fair use depends on circumstances and has no fixed permitted percentage. Keep the creator, original link, license and any required attribution together on a reference board for drawing. For a first session, six clear, appropriately sourced poses are enough; endless searching can wait.
How to draw a gesture step by step
The following sequence is a suggested working method, not a mandatory order. Try it first on a clear standing or seated pose without extreme foreshortening. Give yourself two minutes so you can look between marks. You can shorten the time once you understand what you are trying to select.
- Observe the whole pose before touching the page. Name its action and locate the main support or contact with the ground, chair or other object.
- Place a broad main direction. Use a curve or a few connected angles to describe the action without tracing the entire outside edge.
- Locate the head, chest and pelvis as simple masses. Compare their tilt and spacing; avoid making three identical stacked circles by habit.
- Add the main limb directions. Follow the reach or bend and use an overlap where one part passes in front of another.
- Describe one or two important contrasts: a folded side against a stretched side, a straight support against a curved free limb, or a torso turning away.
- Check the whole drawing. Does it still show the action you named? Make one clarifying mark if needed, then stop rather than filling every gap.
For a fictional example, imagine a mannequin tilting right with its left arm raised. Begin with the leaning torso direction, locate the pelvis above the stand and extend the raised-arm rhythm. If the first drawing looks upright, repeating the pose with a clearer torso tilt is more useful than adding fingers to it. The correction responds to the original question: did you describe the lean?
You can draw through a form lightly when that helps relate its parts, then select stronger marks for the clearest directions. A gesture does not need to look clean enough for display. Keep it legible to yourself: if every line is equally dark, it becomes harder to identify which direction you actually intended.
Gesture drawing practice with timed poses
Short poses measured in seconds or a few minutes are common in gesture practice. Love Life Drawing’s quick-drawing demonstration includes 30-second, 60-second and three-minute drawings. There is no universal ideal duration. The schedules below are suggested session structures; use a separate timer and leave yourself time to change references.
- A 10-minute drawing block: four 30-second poses, four one-minute poses and two two-minute poses. Reserve additional time for setup and review.
- A slower beginner block: five two-minute poses. Look for the same relationship in each, such as the direction of the chest compared with the pelvis.
- A longer practice block: six 30-second poses, six one-minute poses and three two-minute poses, followed by a short review and one untimed repeat.
At 30 seconds, aim for a main direction and a few relationships, not a miniature finished figure. At one minute, you can add major masses and clearer limb directions. At two minutes, you can examine overlaps or a simple shadow shape if the action already reads. These are options rather than required quantities of detail.
If the short poses make you scribble without looking, extend the duration or limit the number of marks. Stop when the timer ends even if the page is incomplete. Then decide whether to repeat that pose as a separate study. Pausing one drawing indefinitely turns a selection exercise into a different task, which is fine when intentional but confusing when accidental.
Common mistakes and a useful correction for each
- Starting with facial features: replace the face with a small head mass and establish the torso before returning to it in a longer drawing.
- Tracing the silhouette from one end to the other: identify a main direction first, then connect major forms rather than letting each edge dictate the sequence.
- Making both sides symmetrical: compare the actual folded and stretched sides. Use different directions only when they are present in the reference.
- Drawing faster instead of selecting less: reduce the marks, lengthen the pose or choose a simpler reference. The clock should narrow the task, not punish you.
- Ignoring support: locate the planted foot, seat or other contact and compare it with the body’s position before decorating the free limbs.
- Correcting every proportion mid-pose: note the largest mismatch and address it in a separate repeat. Keep the short study focused on its intended relationship.
- Repeating a memorized curve for every body: look again at the specific pose. A useful shorthand should describe this reference rather than replace observation.
Review the drawings in terms of the exercise rather than whether they look impressive. Circle a study where the action reads and write why: “clear opposing shoulder and hip directions,” for example. On one unclear study, identify a single next correction. Do not turn the review into a list of everything you cannot yet draw.
A two-week gesture drawing plan
This is a suggested practice plan, not a promise of a result in fourteen days. Keep sessions short enough to fit your circumstances, and move a rest day when needed. Reuse some references so that comparison is possible; changing every variable makes it harder to see which decision affected a drawing.
- Days 1–2: draw five two-minute poses each day. Name each action before drawing and concentrate on the main direction plus head, chest and pelvis.
- Days 3–4: use the 10-minute drawing block. On the shorter poses, leave out detail; on the longer ones, add one useful overlap or change of direction.
- Day 5: repeat three earlier poses at two minutes each. Compare one relationship with the first attempt rather than judging the entire page.
- Day 6: try a different pose source, such as a mannequin or your own photos. Note what the simplified source makes easier and what it cannot show.
- Day 7: rest or review without drawing. Choose one focus for week two: support, torso tilt, limb rhythm or overlaps.
- Days 8–9: draw five two-minute poses using the chosen focus. Give yourself a short written instruction before starting each session.
- Days 10–11: return to a mixed-duration block. Keep the same focus even when a longer pose offers room for more detail.
- Day 12: take one successful gesture into a longer form study. Check whether adding volumes preserves the action instead of straightening it away.
- Day 13: repeat an early reference with the same time limit. Record one clearer choice and one question that remains unresolved.
- Day 14: review, rest and choose the next week’s focus. Keep a few representative drawings instead of expecting every sheet to demonstrate improvement.
Canvas Perch’s infinite canvas supports placing images, notes, links and files side by side, and grouping selected cards inside a frame. Use a frame for source references and another for dated practice studies, with a note naming the session’s focus. Run timed poses with a separate timer, not an assumed built-in timer or slideshow.
If you want a break from figures, choose an observation exercise from things to draw. If practice has become an obligation you dread, revisit the smaller options in art block. Gathering art inspiration and making a short study can be separate activities; neither has to produce a finished drawing every time.
Questions and answers
What is the purpose of gesture drawing?
It studies a pose’s action, rhythm, weight and major relationships before small surface details. You can use it as a standalone exercise or as the opening stage of a longer figure drawing.
How long should a gesture drawing take?
Thirty seconds to two minutes is a common short-practice range, but longer and untimed studies are also useful. Start with two minutes if very short poses make you rush, and shorten the duration when you can select a few clear relationships.
Is a line of action the same as the spine?
No. A line of action is an interpretive direction that helps express the pose. It may follow part of the torso or continue through a limb, and it does not have to match a literal anatomical line.
Can beginners practice gesture drawing?
Yes. Use clear poses, ordinary paper and a pencil, and focus on the main action plus a few large forms. You do not need detailed anatomy knowledge before beginning, but a gesture study does not replace later form and anatomy study.
Can I practice without a live model?
Yes. Use your own consenting self-portraits, appropriately licensed or verified public-domain references, or a mannequin. Check source permissions before sharing studies, and remember that a mannequin simplifies human anatomy.